

How connectors work
Connect GitHub directly; your Studio's AI connects the rest.
link your team's tools to your . A can read from them, bring data into , and send results back.
Two ways to connect
| GitHub (native) | Every other connector (AI) | |
|---|---|---|
| Who connects it | A workspace owner or admin, once for the whole workspace | Anyone working in a project, with that project's AI |
| How | Install the Klarety app on GitHub and choose repositories | The AI drafts the connection; you finish it with your key or sign-in |
| Where it is used | Every project can link one of the chosen repositories | The project it was made in, plus projects an admin switches on |
The GitHub guide covers the native connector. This page covers the AI flow.
How the AI connects a service
1. You ask
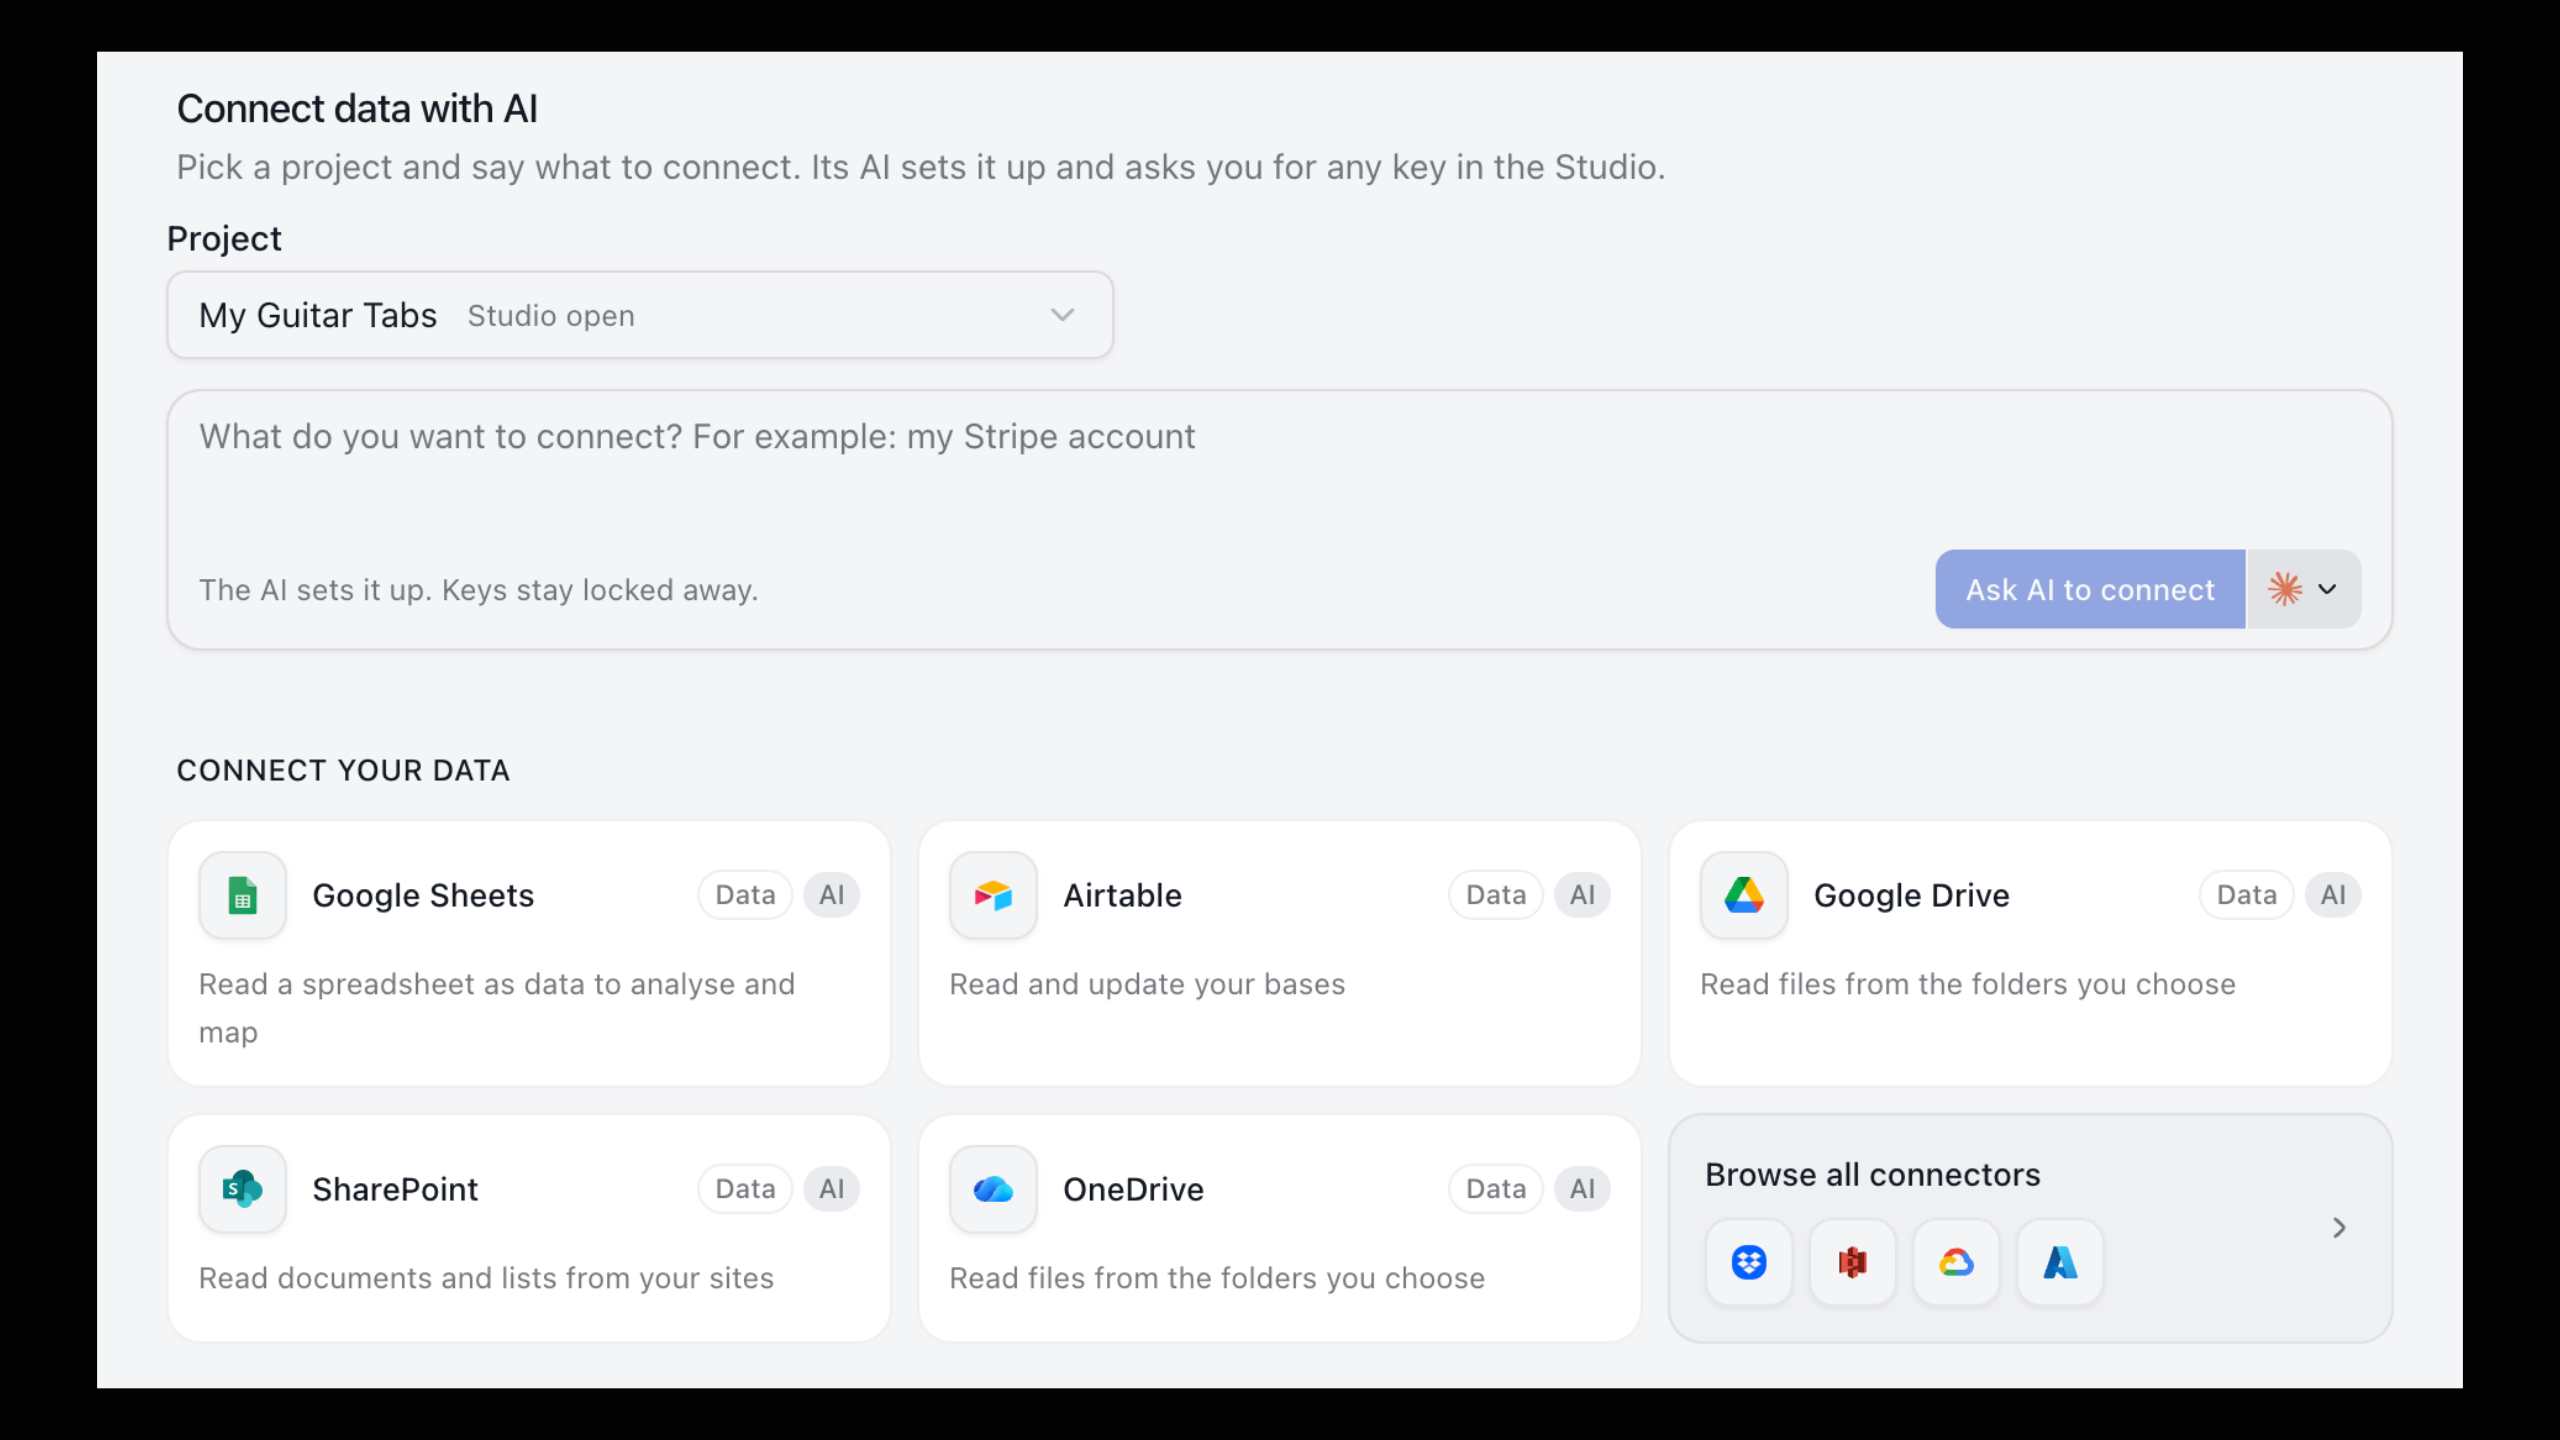
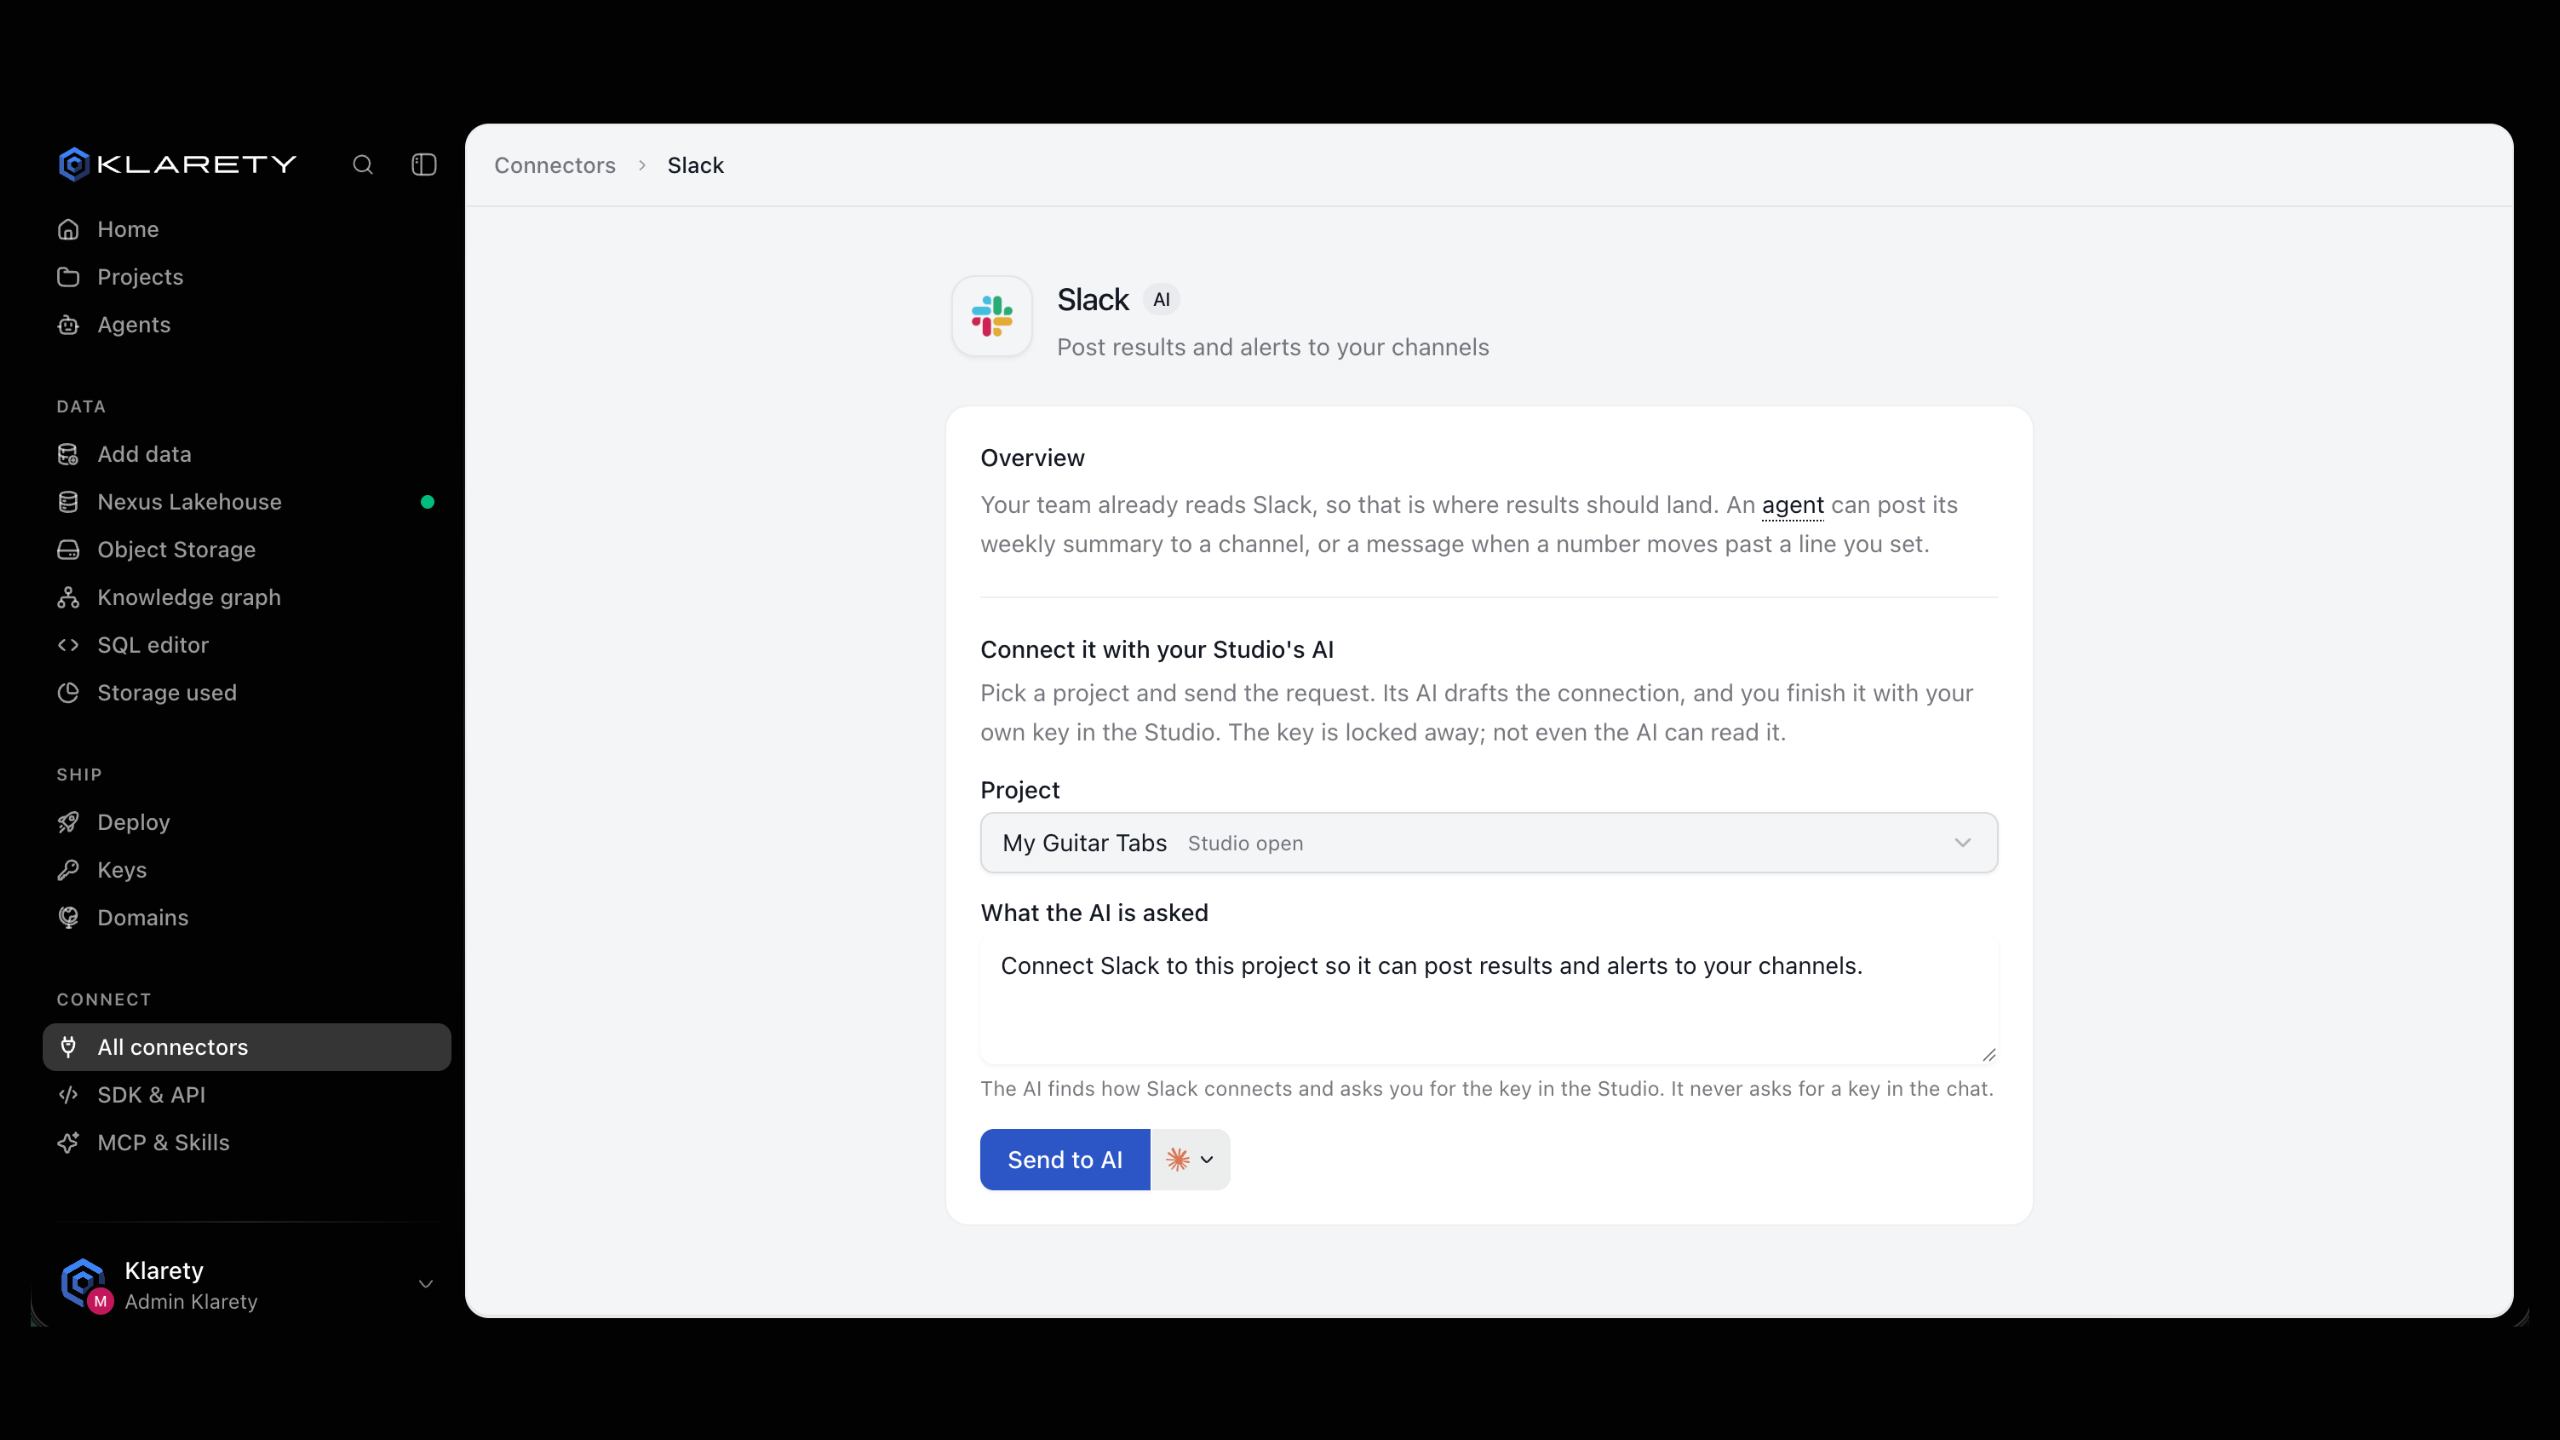
Open a connector on Connectors and use Connect it with your Studio's AI: pick a Project, check What the AI is asked, and select Send to AI. Or, inside a project, go to Settings, then Keys, and use Ask AI to connect.
from klarety import Nexus

nx = Nexus.connect("YOUR_API_KEY")
nx.service_connections.ask_ai("PROJECT_ID", "Connect Stripe so it can read payments")
2. The AI drafts the connection
The AI works out the site, the kind of key and how to get one. The draft holds no key, reaches nothing, and shows as Waiting for you.
The AI never asks for a key in the chat
Never paste a key into a chat. Keys go only in the connect dialog.
3. You finish it
Select Connect. The dialog asks for one of:
- a Key, with Open the page with your key to get one;
- a User name and Password, for databases;
- a sign-in with the provider, for services such as Google and Microsoft.
Choose What the AI may do with it: Can read or Can read and change. Then select Connect, Test it and Tell the AI.
4. The project uses it
The calls the service and your key is added on the way out. The key never enters the Studio.
What keeps your keys safe
- Sealed at once. Encrypted with a managed key service the moment you select Connect. Nobody, including the AI, can read them back.
- One site only. The dialog shows the only site the key is sent to. If it is not the service's own address, Klarety warns you and asks you to type it to confirm.
- Least access. Choose Can read and change only when the job needs it.
- Internet setting. A project whose internet is Off cannot use connections. With Only allowed, its Studio reaches only its connections and the sites you add.
See and manage connections
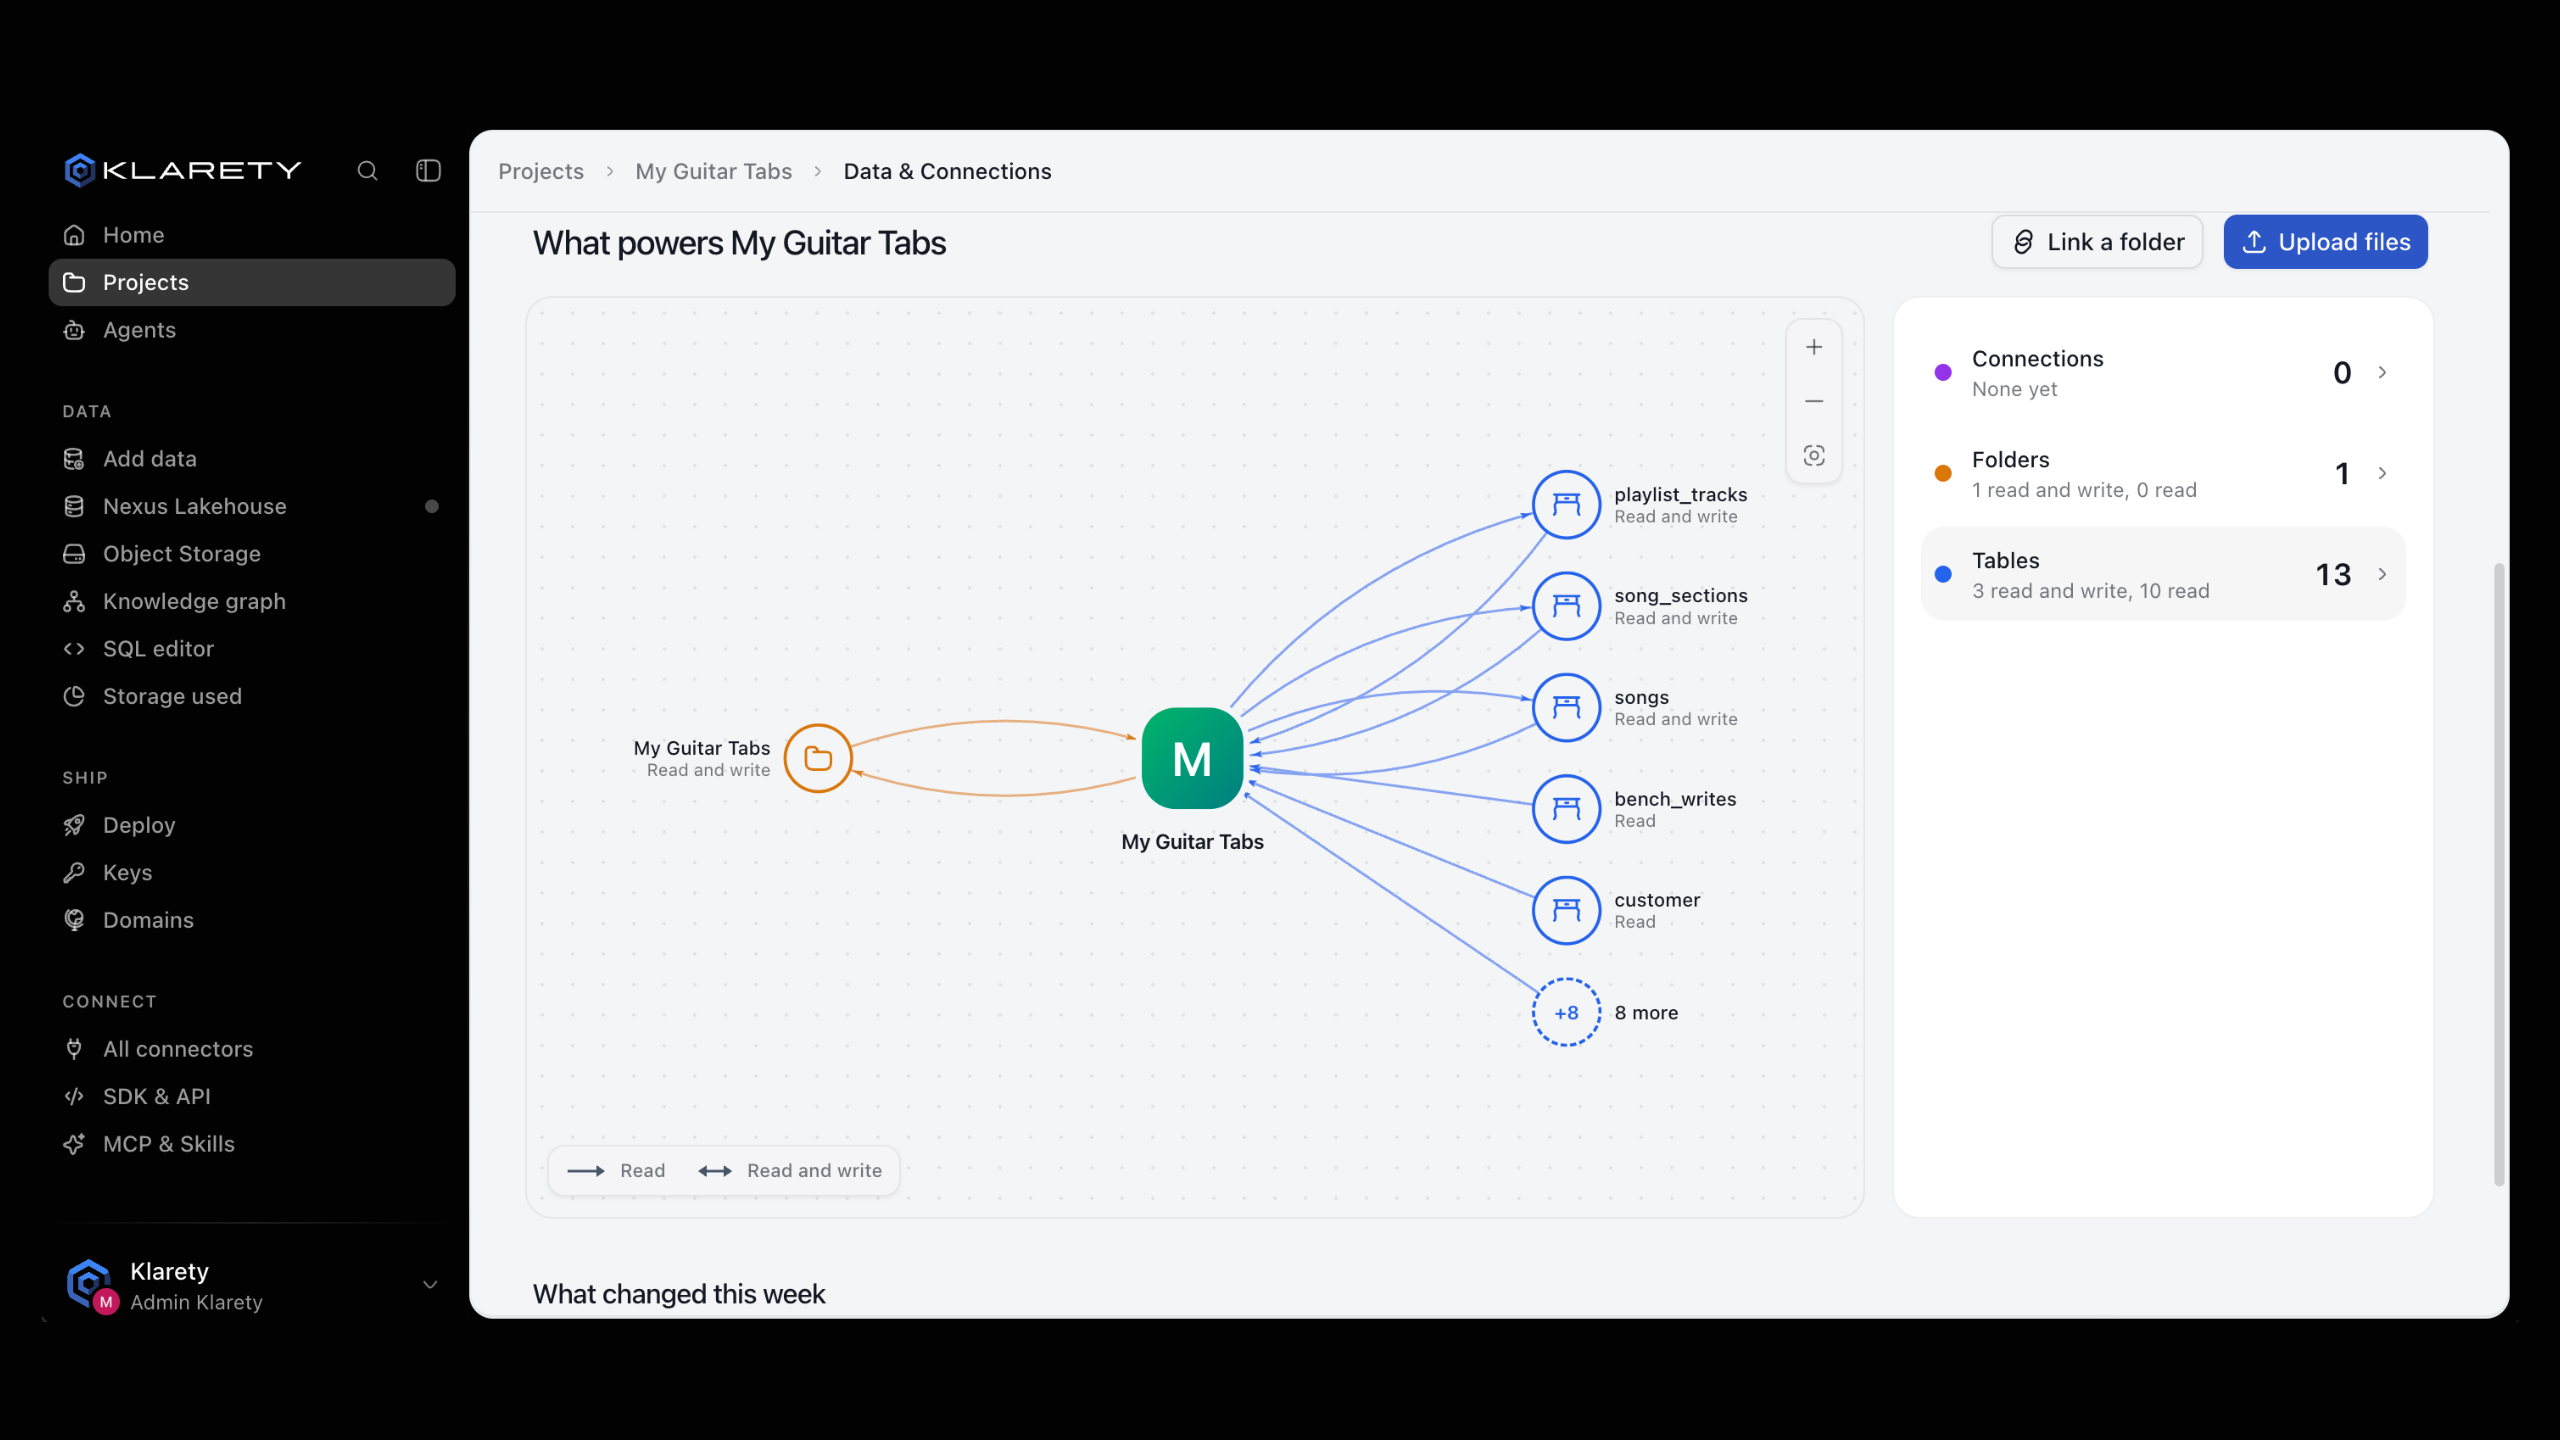
In a project, open Settings, then Keys. Each connection shows Waiting for you, Works, Needs reconnecting or Paused, with Connect or Reconnect, Test, Pause or Resume, Turn off here and Remove.
Owners and admins also see Your connections on Connectors. A connection stays off for other projects until an admin switches it on.
from klarety import Nexus

nx = Nexus.connect("YOUR_API_KEY")

listed = nx.service_connections.list("PROJECT_ID")
for connection in listed["connections"]:
    print(connection["name"], connection["health"])

result = nx.service_connections.check("PROJECT_ID", "CONNECTION_ID")
print(result["result"], result["detail"])

nx.service_connections.change("CONNECTION_ID", paused=True)
nx.service_connections.switch("CONNECTION_ID", "OTHER_PROJECT_ID", on=True)
health is one of waiting, works, needs_reconnecting or paused. check returns result as one of works, key_rejected, cannot_reach, internet_off or not_connected, with a readable detail, never the key. org() lists every workspace connection and switch turns one on for a project (owners and admins only).
Webhooks
A service can call your project when something happens. In Settings, Keys, select Add webhook, give the service the address Klarety shows, and paste its signing secret. Klarety verifies every call. See the Stripe guide for an example.