

Stripe
Bring payments, customers and subscriptions into Nexus with a restricted, read-only key.
Connect Stripe to bring payments, customers and subscriptions into for revenue reporting you control. Joined with your CRM in the , each customer's value sits next to their history.
Your 's AI prepares the connection; you finish it by pasting a restricted, read-only key.
Before you start
- A . Its Studio's AI does the work. See Create a project.
- Access to your Stripe account that lets you create API keys.
- A restricted key with read access only, limited to the data you want (for example customers, charges, invoices and subscriptions). Never paste your secret key: a restricted key can be revoked on its own and cannot move money.
Connect it
Open Stripe
Go to Connectors, search for Stripe and open it.
Send the request to a project's AI
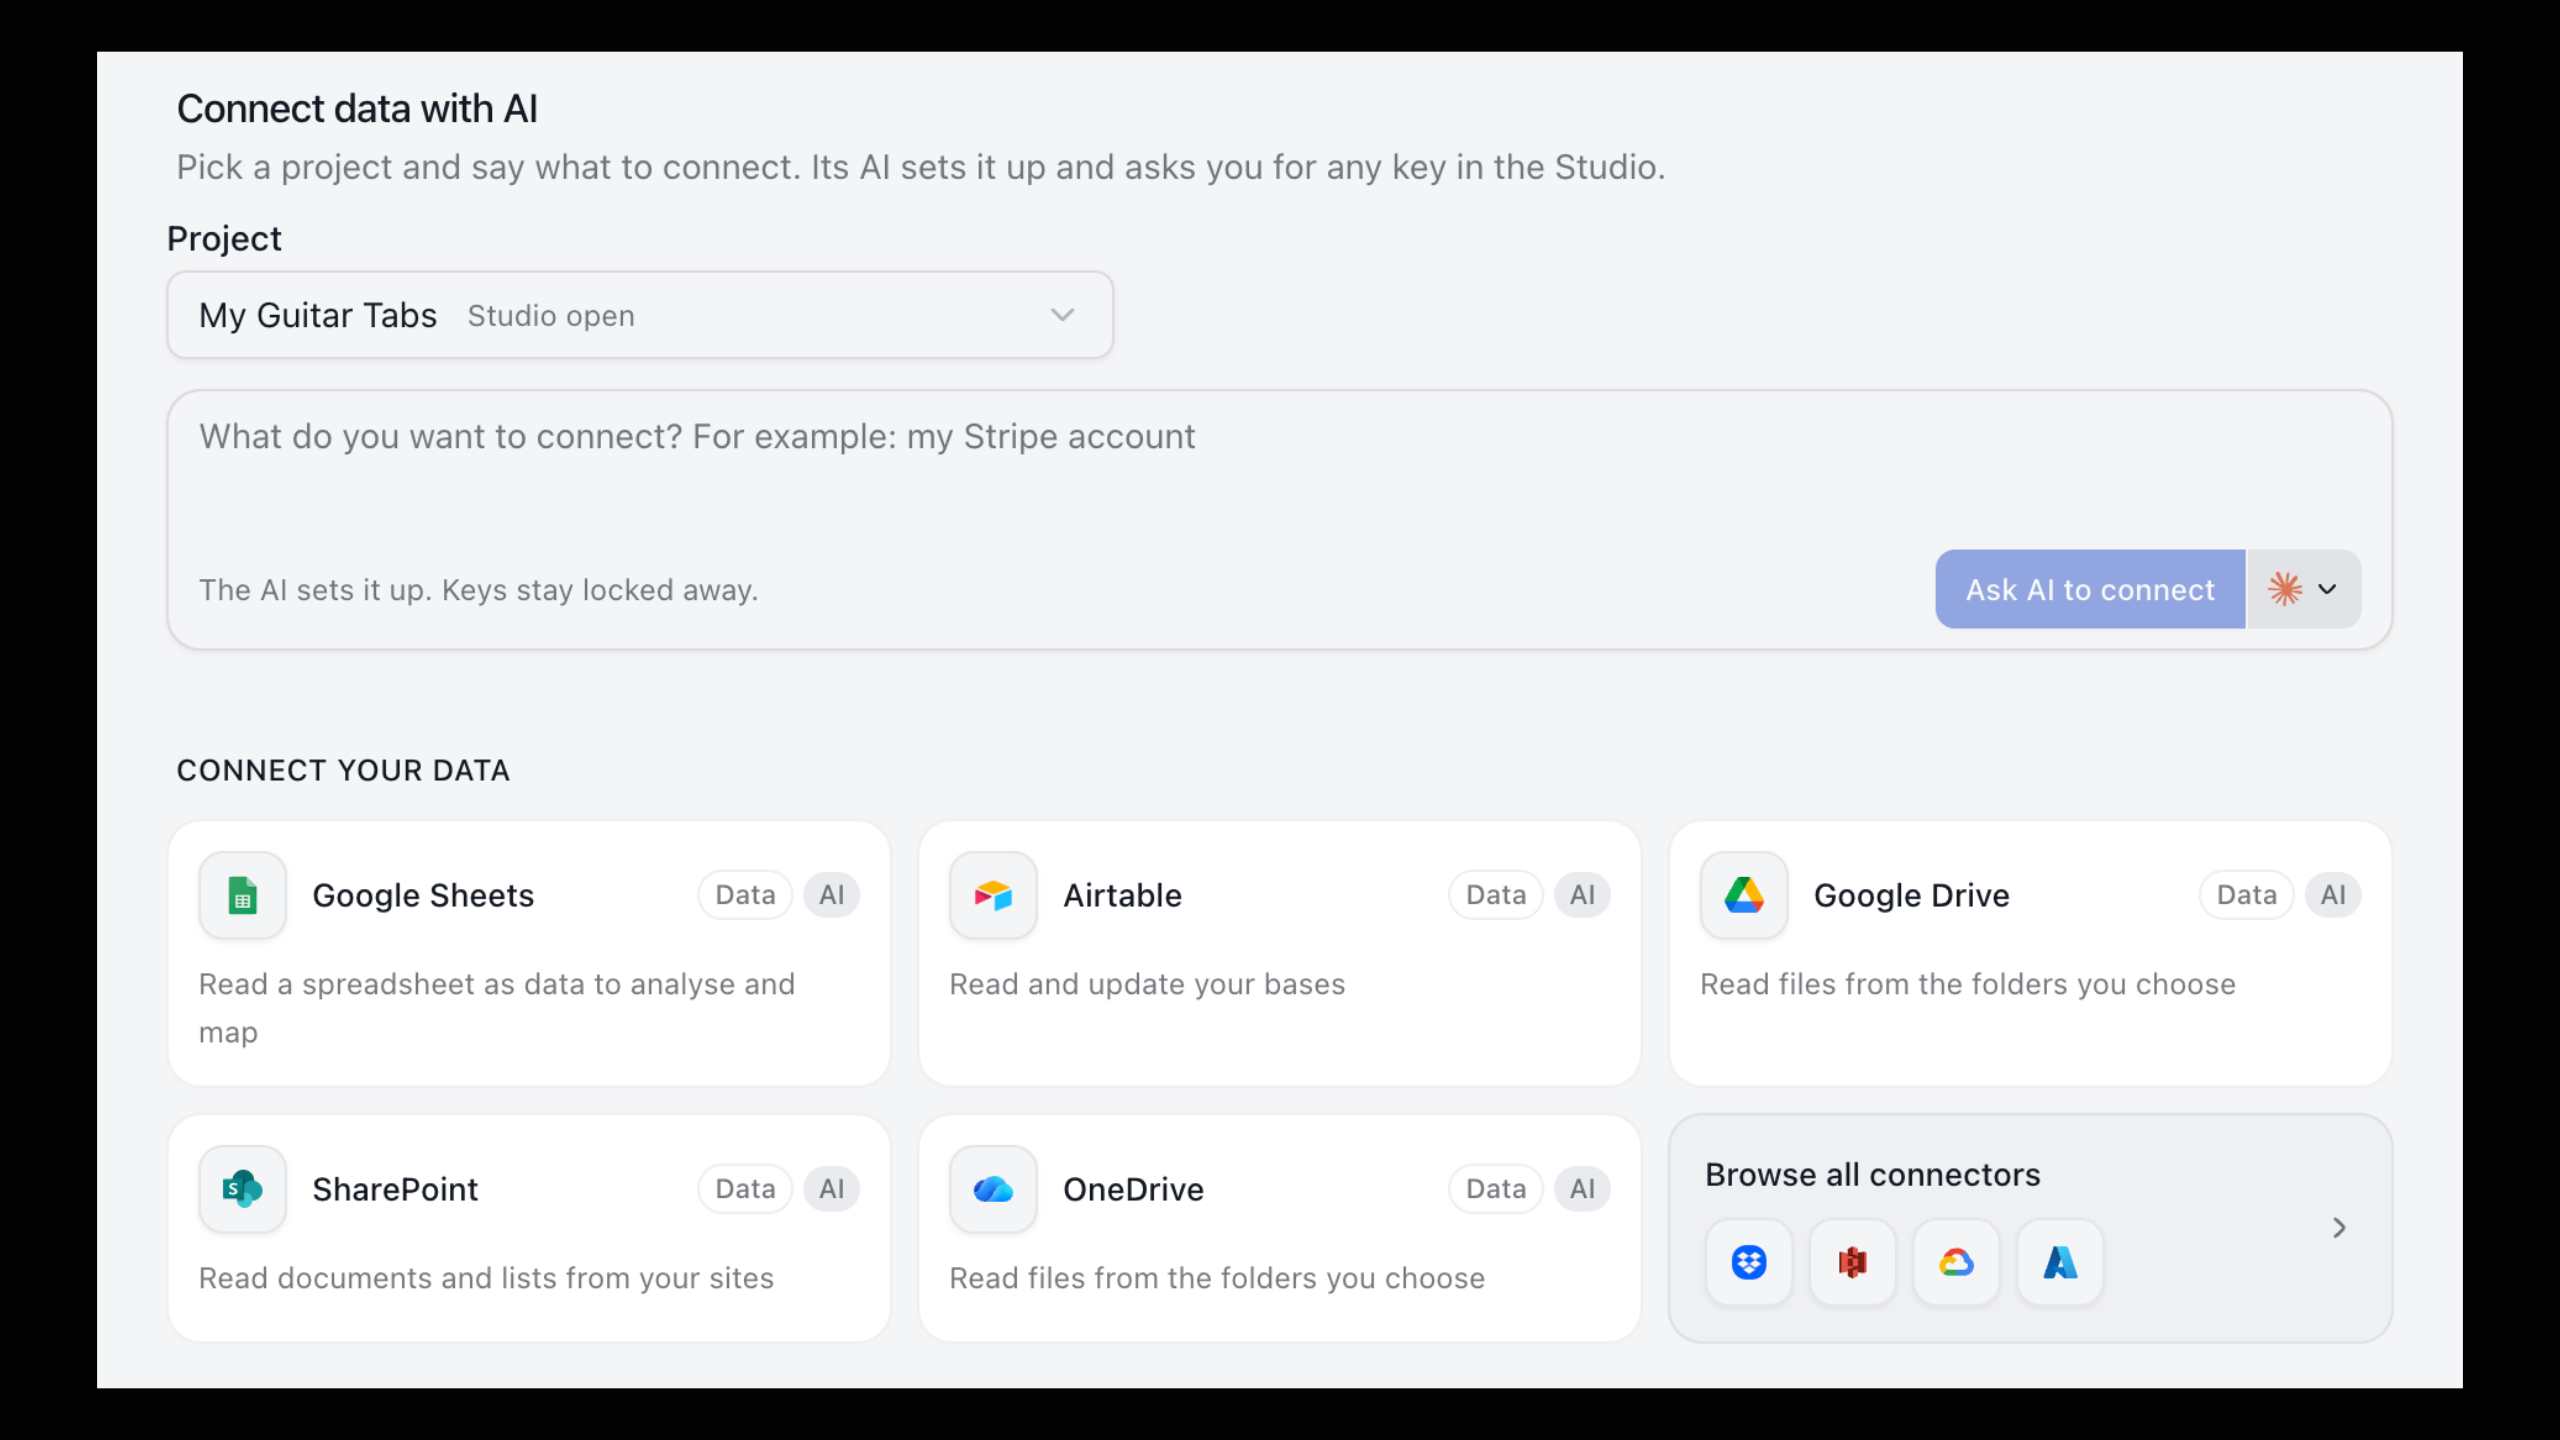
Under Connect it with your Studio's AI, choose the Project that should use Stripe. What the AI is asked starts as "Connect Stripe to this project so it can read payments, customers and subscriptions." Edit it to say exactly what you want, for example: "Load our Stripe customers, invoices and subscriptions into tables and refresh them every night". Then select Send to AI.
The AI starts at once if the Studio is open, or when it next opens. Select Open Studio to go there.
Finish the connection
The AI drafts the connection and never asks for a key in the chat. The draft shows as Waiting for you. Select Connect to open the Connect Stripe dialog.
The dialog lists the steps to get the key and has Open the page with your key, which opens Stripe in a new tab. Create the restricted key there and paste it into Key. The dialog shows the only site the key is sent to.
Choose what the AI may do
Under What the AI may do with it, choose Can read (nothing there changes) or Can read and change (the AI may also add, change and remove things). Then select Connect.
Test it and tell the AI
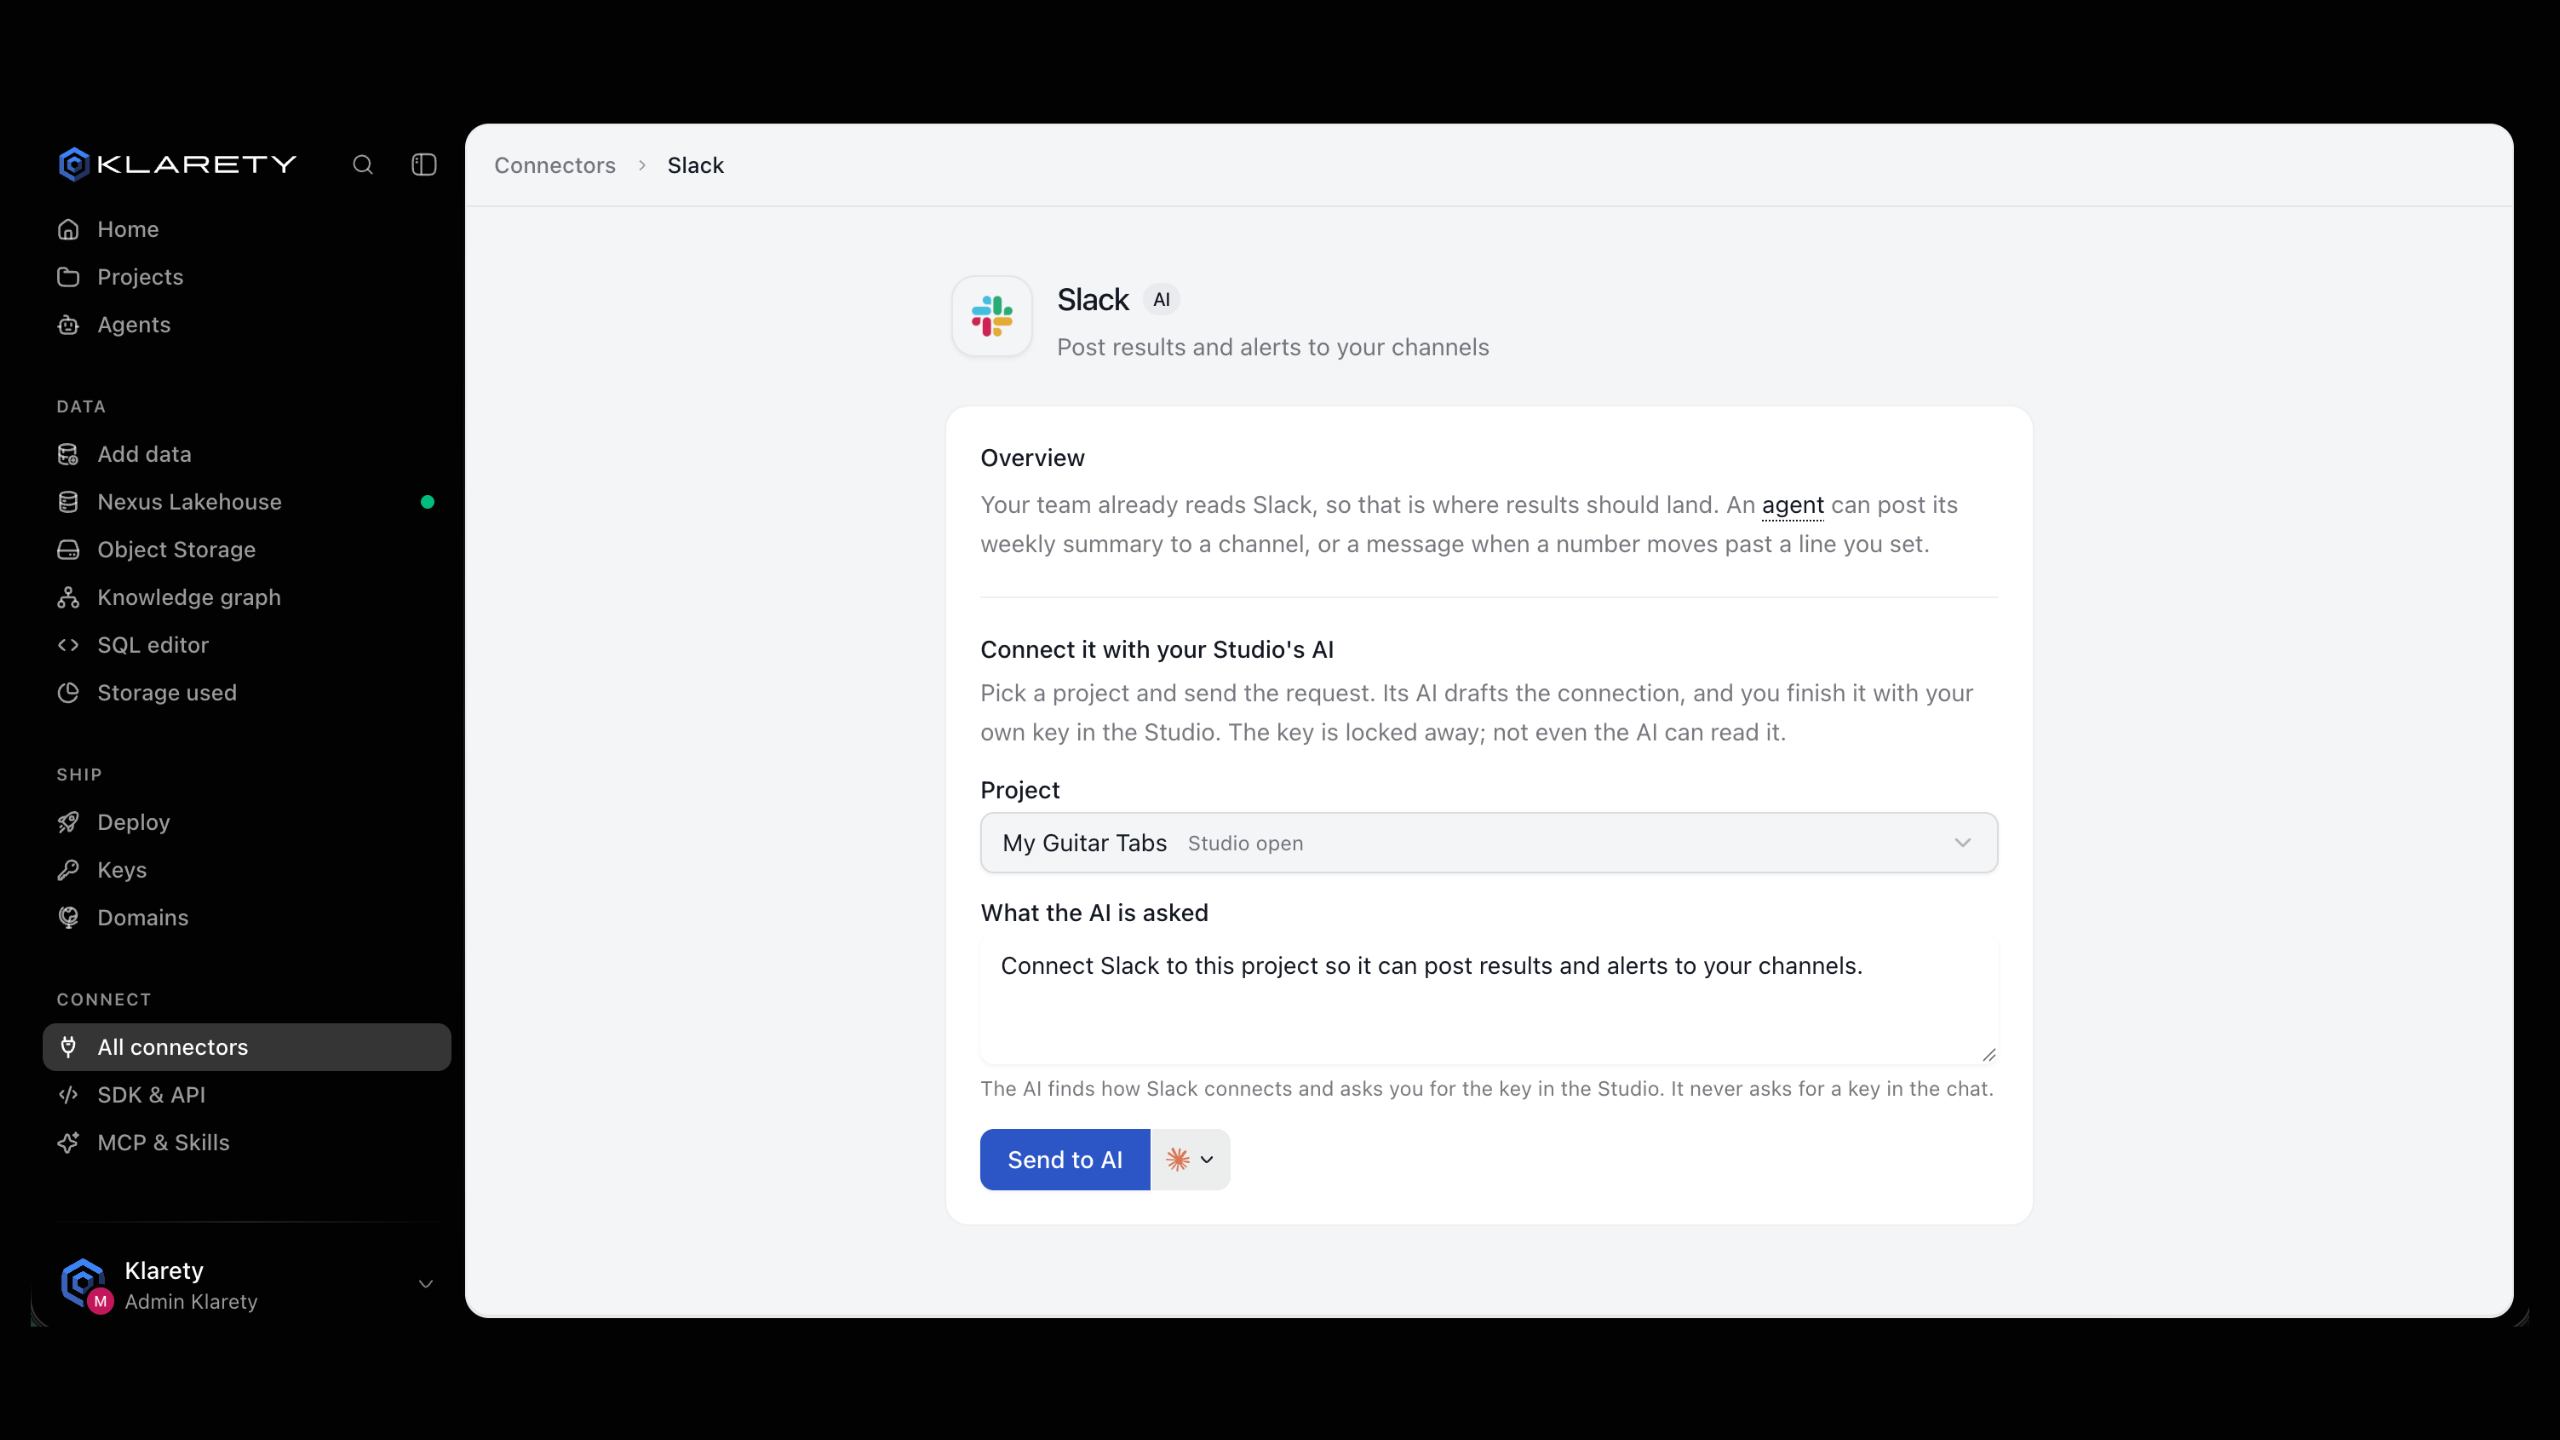
The dialog says Stripe is connected. Select Test it, then Tell the AI so it carries on.
You can also start inside a project: in Settings, Keys, describe it in What do you want to connect? and select Ask AI to connect.
Choose Can read in the next step. Reporting never needs to change anything in Stripe.
What you get
- Tables you can query. Customers, payments, invoices and subscriptions become Nexus tables. Ask the AI for the shape you need, for example monthly recurring revenue by plan.
- Fresh numbers. The AI can build an that reloads the tables every night. See What agents do.
- One view of a customer. With your CRM connected, the knowledge graph links each Stripe customer to the same company or person elsewhere. See Knowledge graph.
Receive Stripe events as they happen
To react to events (a payment succeeded, a subscription was cancelled) instead of reloading on a schedule, add a webhook in the project's Settings, under Keys:
Add the webhook
Type a Webhook name, for example "stripe events", and select Add webhook.
Give Stripe the address
In Stripe, add a webhook endpoint with the address Klarety shows and choose the events you want.
Paste the signing secret
Paste the endpoint's signing secret into Klarety and select Finish. Klarety then verifies every event before the project sees it.
The webhook row shows how many events were received and, when set, the table they land in.
Test, pause and reconnect
A project's connections are listed in its Settings, under Keys, with their status.
| Status | What it means |
|---|---|
| Waiting for you | Drafted by the AI. Select Connect to finish it. |
| Works | Connected and usable by the project. |
| Needs reconnecting | The key or sign-in stopped working. Select Reconnect. |
| Paused | Nobody can use it until you select Resume. |
From the same row: Test, Pause, Turn off here (this project stops using it) or Remove (deletes the key, and every Studio using it stops reaching Stripe).
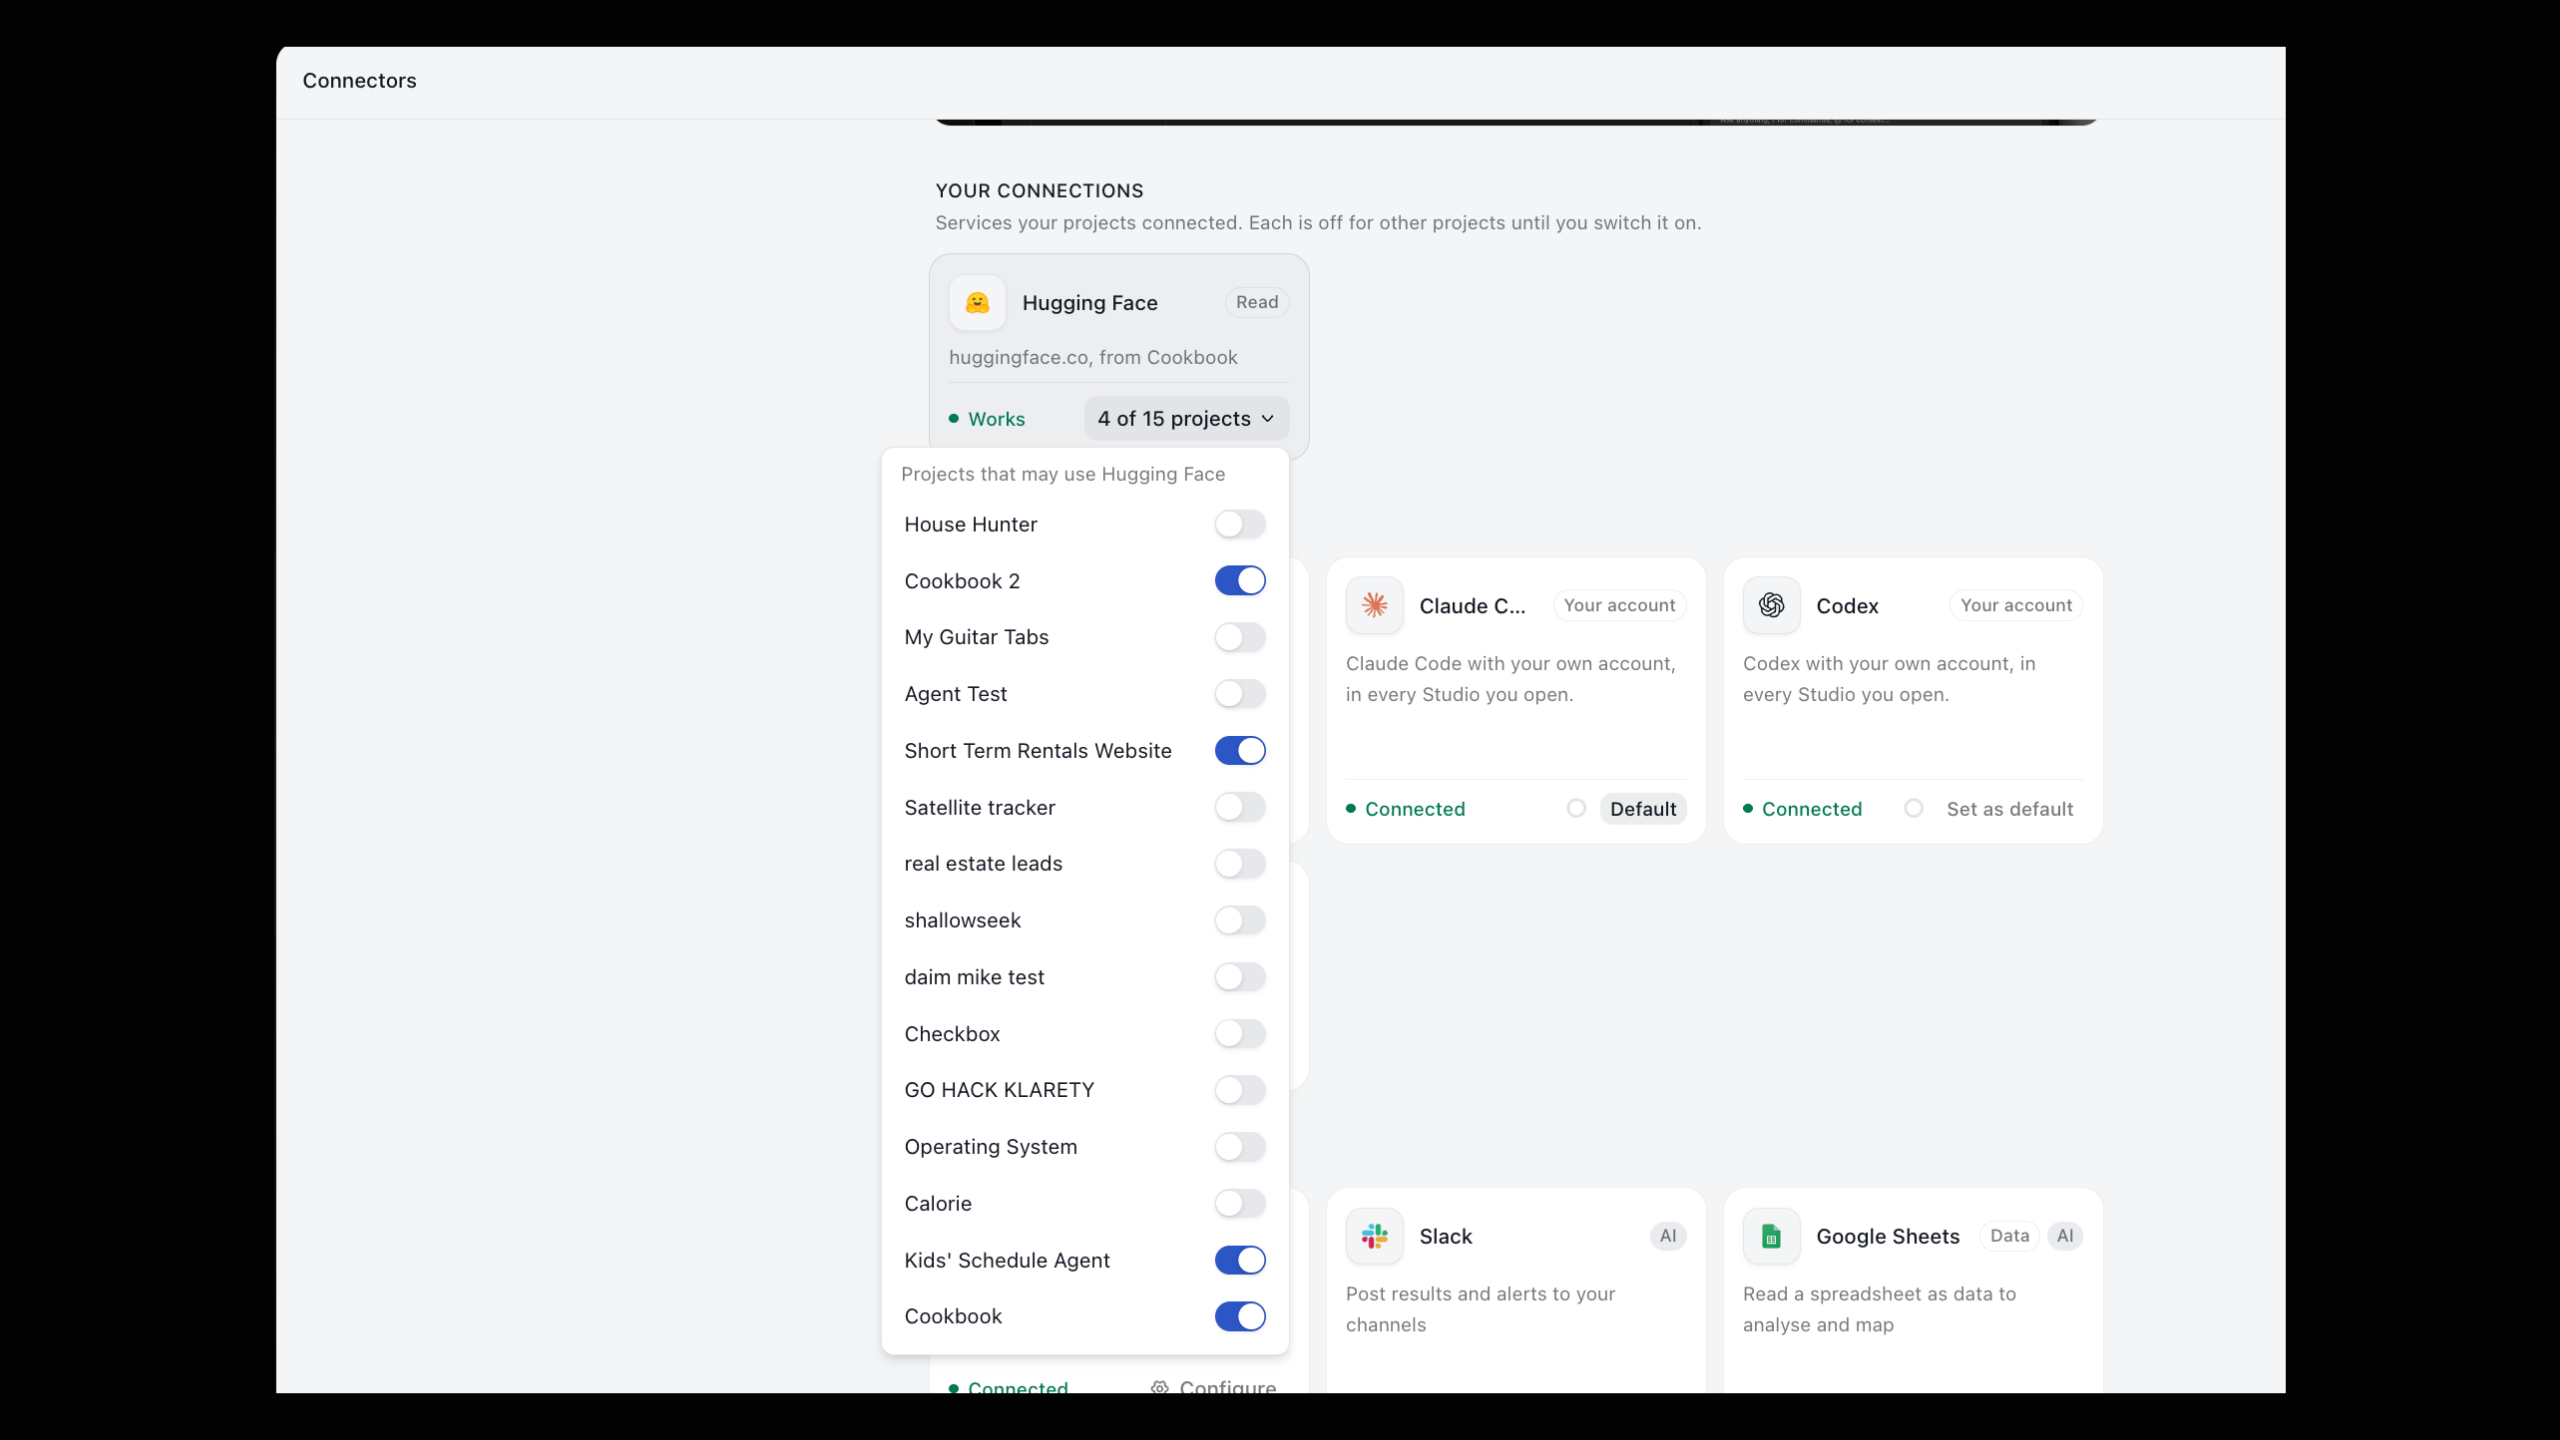
A connection belongs to the project it was made in. Owners and admins see all of them under Your connections on Connectors. It stays off for other projects until an admin switches it on under Projects that may use it.
If the test fails
Test reports one of these:
- It works: the project reached the service.
- The key was rejected: select Reconnect and enter a new one.
- The service cannot be reached: check that it is up and accepts outside connections, then test again.
- Internet is off: the project's internet is Off. Turn it on in its Settings. With Only allowed, the Studio reaches only its connections and the sites you add.
- It is not connected yet: select Connect.
Specific to Stripe:
- A table is empty or missing. The restricted key does not have read access to that kind of data. Edit the key in Stripe, or create a new one and select Reconnect.
- Events stop arriving. Check the endpoint is still enabled in Stripe and that the signing secret in Klarety matches it.
Where your key goes
The key or sign-in is encrypted with a managed key service the moment you select Connect, and not even the AI can read it. The Studio never holds the key. If the one site it is sent to is not the service's own address, Klarety warns you and asks you to type the site to confirm.