

Your first project
Create a project, open the Studio and make your first change with AI.
Create a project from New project, start its Studio, ask the AI to build or change something, and check the result in Preview. Connect GitHub so your code is saved in your own repository.
What you will build
A with a running and a first change made by AI, visible in the live preview. Agents, deploys and apps all live in a project.
Before you start
- A Klarety on the free trial or Pro. See the Quickstart.
- : a running Studio is priced per minute. Your balance is in SettingsUsage & limits.
- Optional: GitHub connected, so your code is kept in a repository you own. See GitHub.
A running Studio uses credits
A Studio is priced per minute while it runs. Stop it when you are done; your files are kept.
Steps
Create the project
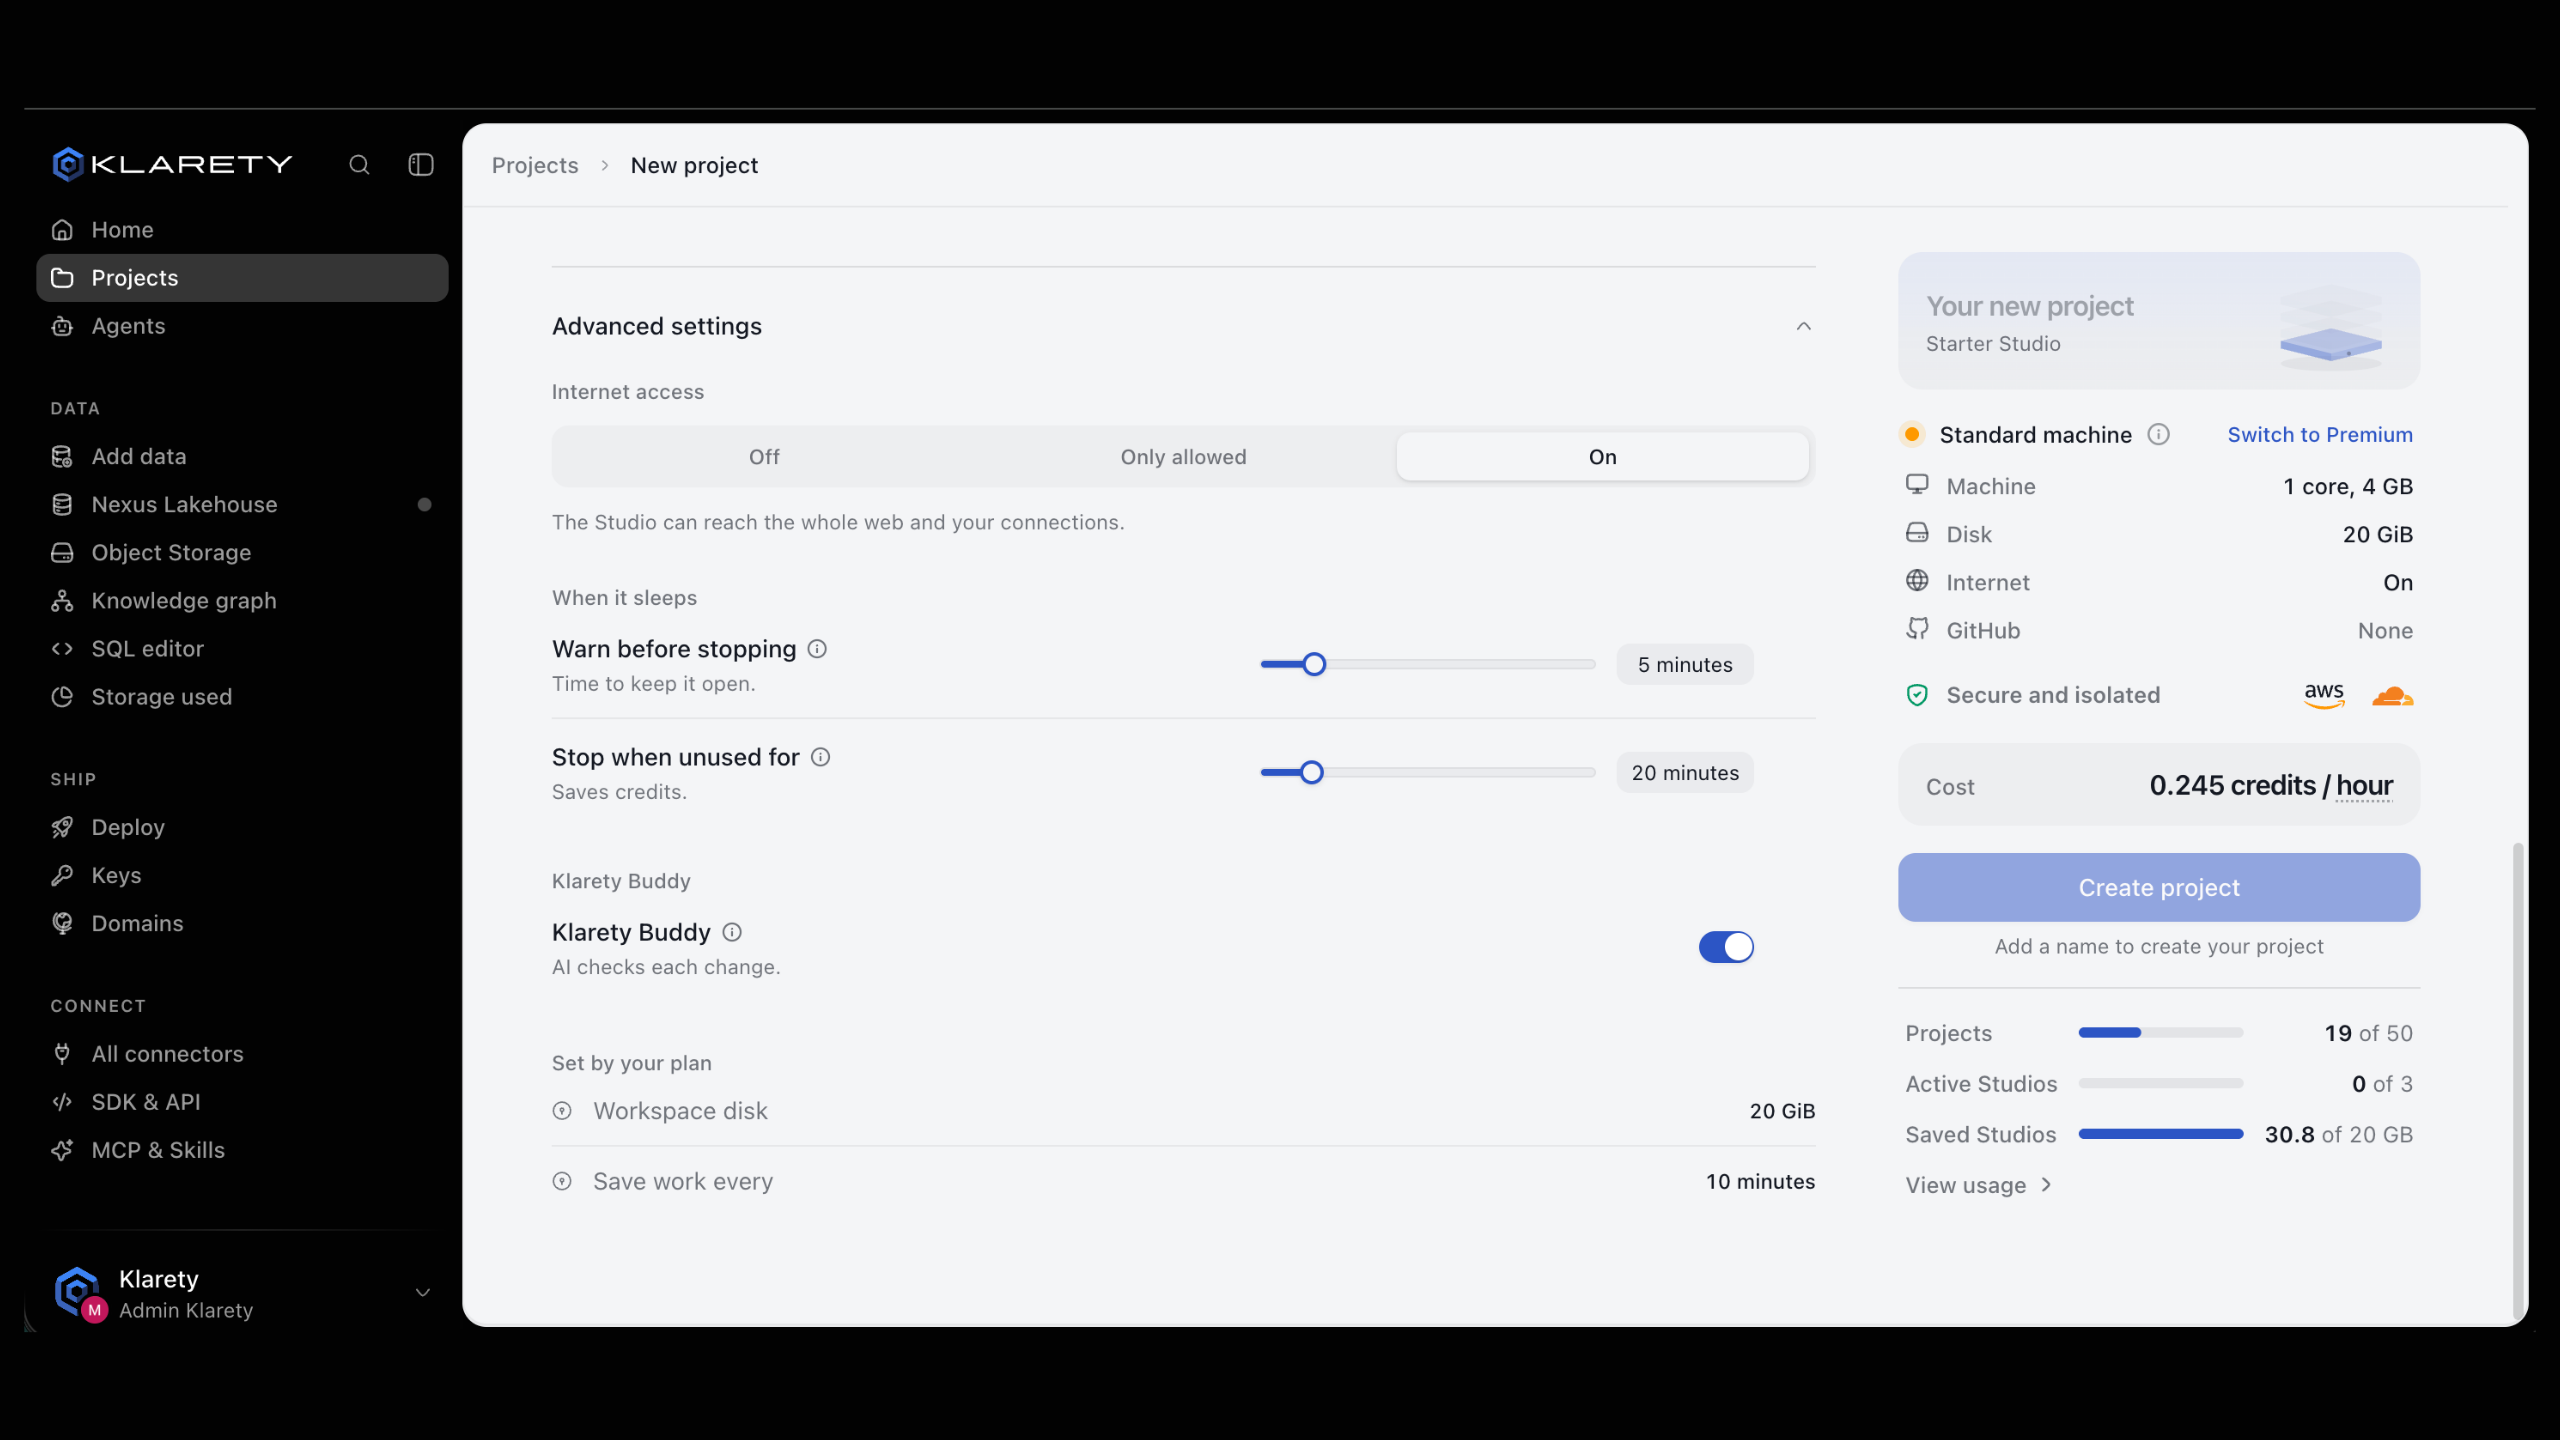
Open ProjectsNew project, or select New project on Home. Type a Project name. The other options have sensible defaults:
- Size: how much machine the Studio gets. Starter is plenty to begin.
- How it runs: the standard shared machine is the default. If it is taken back, a new one starts on its own and no work is lost. Premium is never interrupted.
- : which AI tools the project uses.
- Connect GitHub: link a repository now, or later from the project's settings.
- Invite people: add teammates from your workspace.
- Internet access: whether the Studio can reach the whole web, only your connections and the sites you add, or nothing outside Klarety.
The form shows the Studio's cost per hour. Select Create project. Every option is explained in Create a project.
Start the Studio
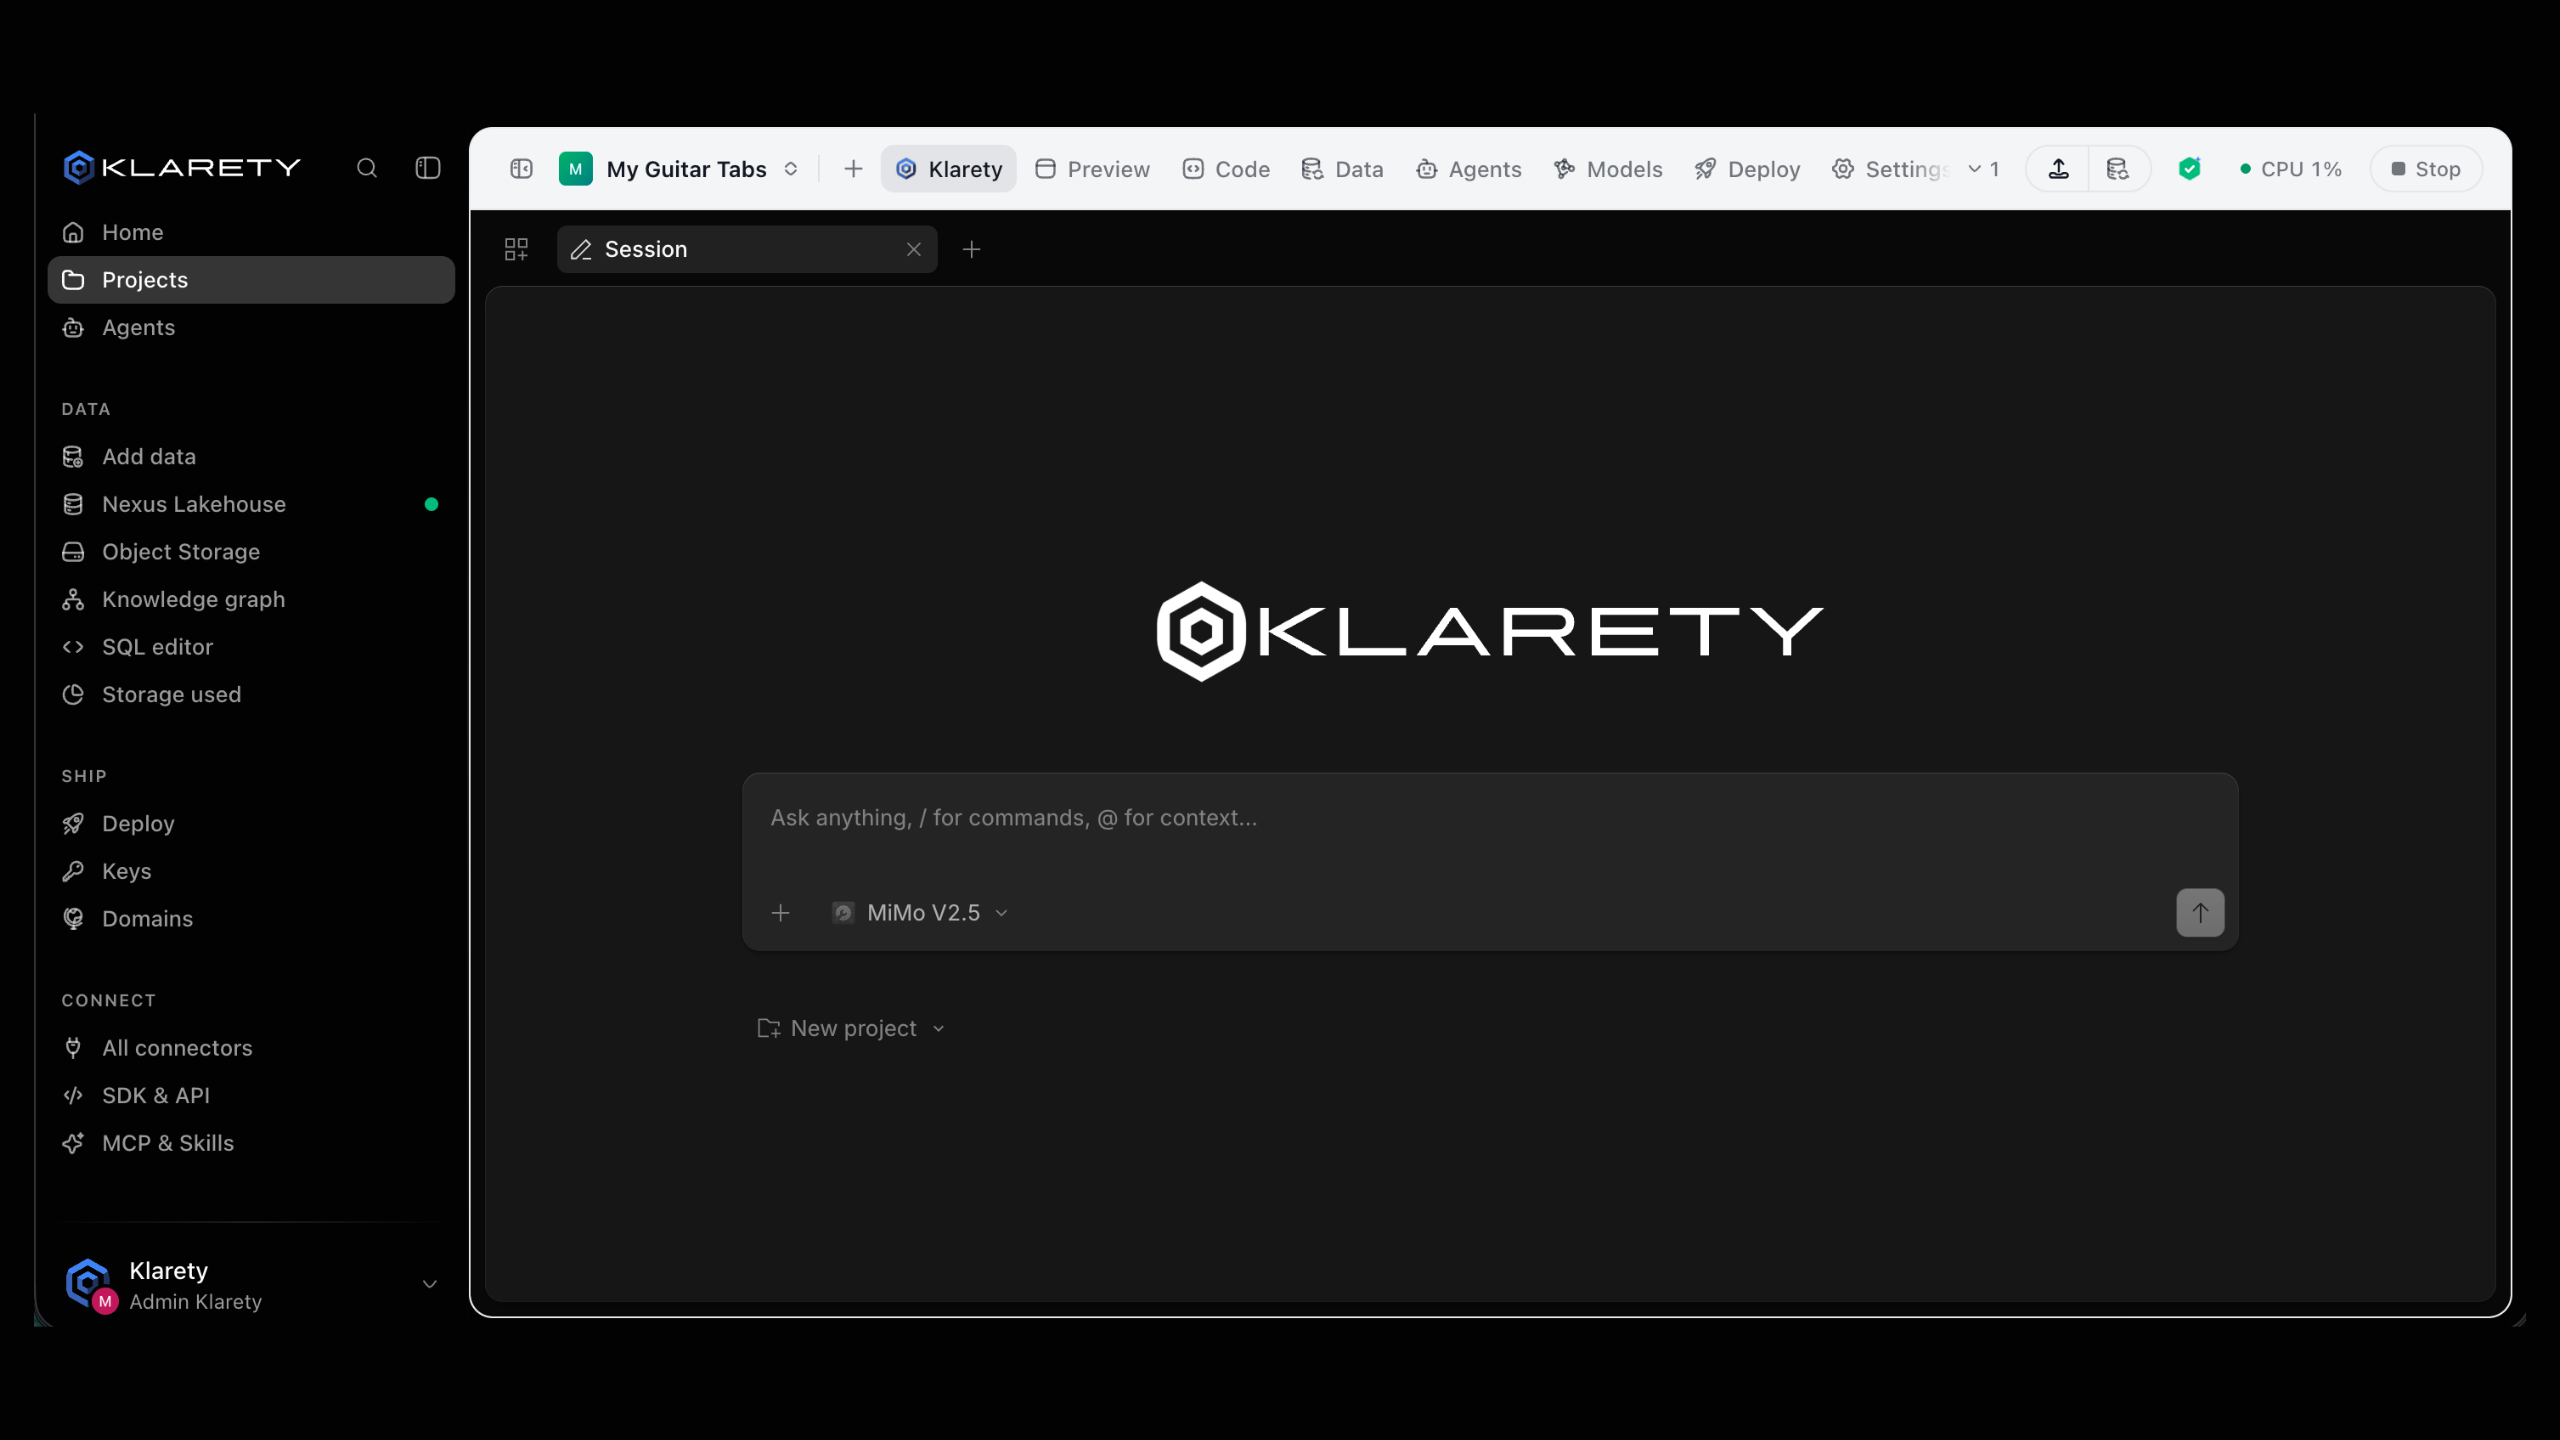
The project opens on its overview. If the Studio is not running, select Start Studio. The status moves from Studio starting to Studio running.
Ask the AI to make something
Open the AI tab and describe what you want, for example:
Build a small web page that lists the tables in my workspace and how many rows each one has.
The AI reads your project, writes the code and runs it, showing every step.
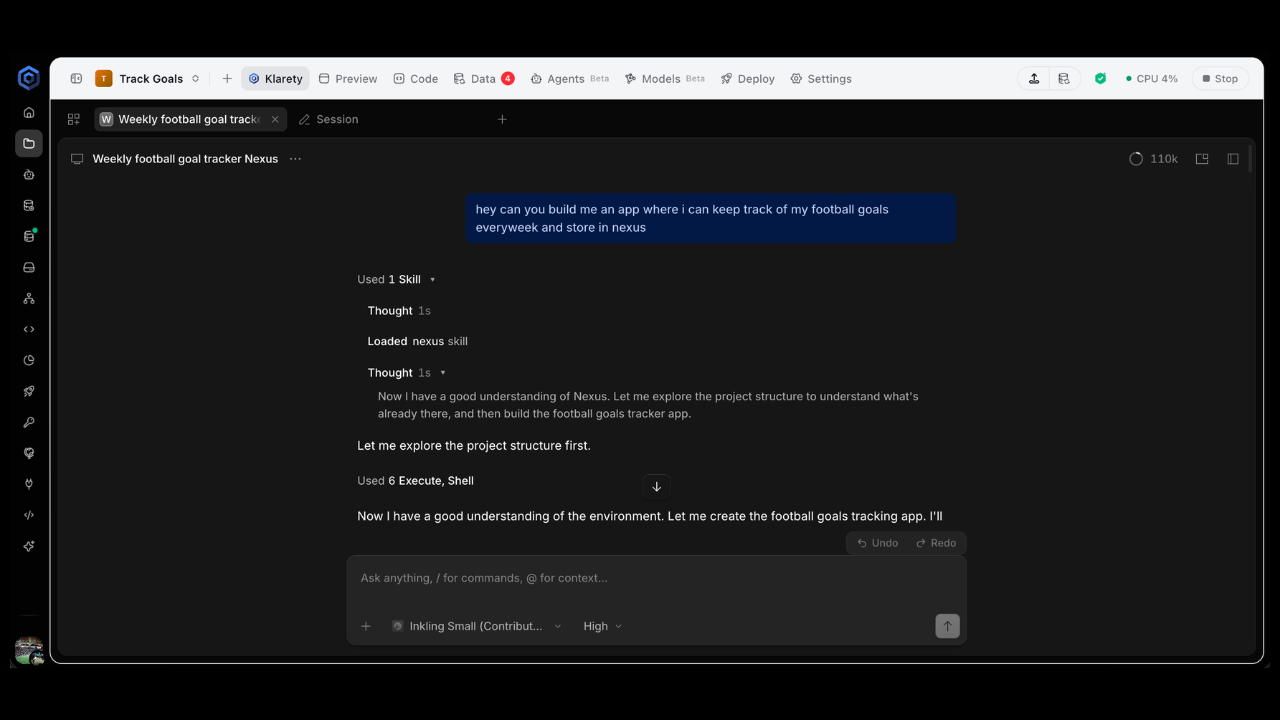
Use Klarety's AI, or your own Claude Code, Codex or Cursor subscription. See the AI harness.
See the result
Preview shows the running app; Code lets you edit the files. Split the tabs side by side to watch the preview while the AI works.
Save your code to GitHub
If linked to a repository, push from the Studio. If not, select Connect GitHub to keep your code safe on the overview and choose a repository.
Stop the Studio when you are done
Select Stop Studio. Files are kept, a stopped Studio uses no credits for running time, and you can start it again any time.
Check that it worked
- The project appears in Projects with its Studio status.
- Preview shows the page the AI built.
- If you linked GitHub, the overview's Code card says the code is saved in your repository.
- The project's Activity shows your Studio session.
Common variations
- Start from an existing repository. Link a GitHub repository when creating the project; the AI works on your real code.
- Work with a teammate. Add them under Invite people, or later in the project's People settings. Each person runs their own AI session in the same Studio. See Working together.
- Try a risky change safely. Ask the AI to work in a copy, a separate branch, so your main code stays as it is. See Copies.
If something goes wrong
Next steps
- Turn a spreadsheet into a table: give your project data to work with.
- Deploy your first app: put what you built online.
- The Studio: everything a Studio can do.
- Klarety Buddy: AI code review for your project.